Yeah, we could have bought our RV, toured around in it awhile, and then decided to renovate it. Sure, we could have picked away at the projects to allow for more explorking over the summer, but there’s something so satisfying about making a space your own. Especially when you’re sure as sure can be that it’s the right choice. Practical? Maybe not. But boy, are we going to be so efficient in our Explorker2 when she’s ready to hit the road!
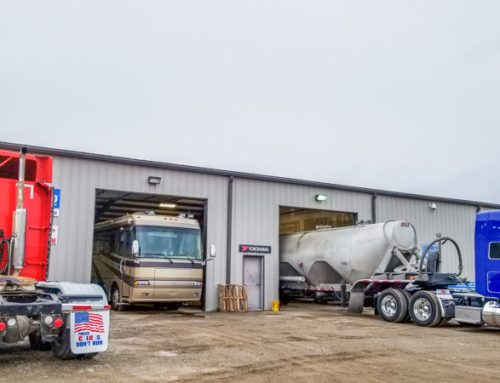
We picked up the RV on Friday May 19, 2017. On Saturday, we started gutting it out.
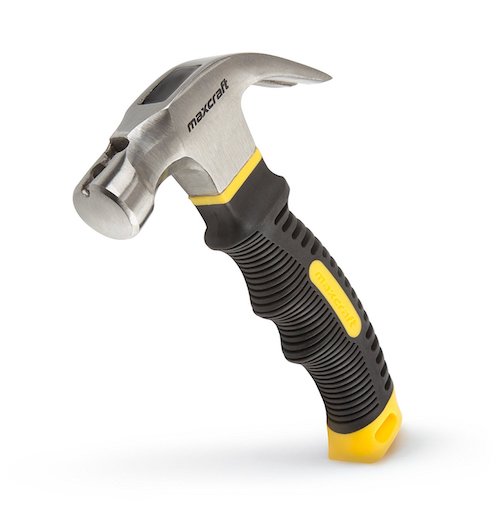
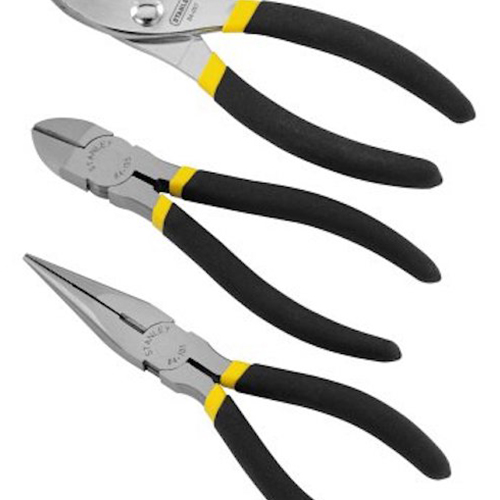
A couple of tools we used for this portion of the project:


We unbolted the couches, removing the arms, drawers, and backing. The couches were still too big to go through the door, so we had to remove the passengers captains chair. To remove the captains chair, we had to raise the foot stool in order to get to the bolts. Problem was, when we went to access the bolts on the rear, the chair stopped moving! So, we were stuck with a captains chair blocking the only way out and back into the coach. About 3 hours into it, we discovered that the wires had pulled out of the connector, which connects power to the chair. Noted for next time.


Next, all the mirrors in the coach that were placed above each of the corian backsplashes and above the bed (how special…). I used a hairdryer and a wedge of wood to slowly remove the mirrors from the wall. We’re planning on painting the walls, so being gentle is required. Once the piece of wood was wedged in enough, I used a hammer to move the wedge along until the mirror began to separate from the wall. The key is using a hairdryer, it helps to soften up the glue.


The wood trim adorned around the slide outs had to go. The easiest way to remove them was to remove the large blocks at the corners – they were nailed in, so easy to remove. Once the blocks were removed, it displayed screws underneath. Overall, the slideout trim was the easiest to remove out of all the projects so far.


There was a TV above the cabin that we knew we wouldn’t watch, ever. So we removed it! Kevin found massive screws holding things together, screwed right into the vinyl. It looked like an aftermarket change.


The stairs entering the RV had exterior rug with Velcro on each one, so we removed the rugs, the velcro, and used JIG-A-LOO to remove the adhesive. Once that was done, we removed the vinyl planking and steel-like plastic sheets.

Next up were the blinds, you know those boxes of dust magnets. We were blown away at just how much dust was flying around when we started to tear them out piece by piece. There were over 10 screws per box, so we had to take our time to ensure everything was removed before pulling to gently off the wall. Nothing ripped!
Lastly, we removed the corian top to the kitchen table and the counter on the hutch behind the table. We’ll leave the rest of the countertops intact for now.


A bunch to come next week as we start ordering items to patch things up again, pick out flooring, paint colors, and more…


Do you know what brand your sofa sleeper is? It looks more comfortable than our Flexsteel one that has very thin bottom cushions. I also like the storage drawer.
Hi Caryn, both of the sofas that came with our 2004 Monaco Windsor are from Villa. It looks like they have some pretty nice options available. I think most of them have storage, which is great. We are only keeping one of them.
It’s a Villa 😉