I hope everyone appreciates the level of creativity that I applied to coming up with this title. It has been a while since I’ve spent a full day in the garage. I’m always amazed how therapeutical working with wood is. My wife and I recently purchased a Thor Gemini 23 motorhome. It is our first motorhome, and aside from the numerous issues, we love owning a motorhome.
I already made a couple of modifications:
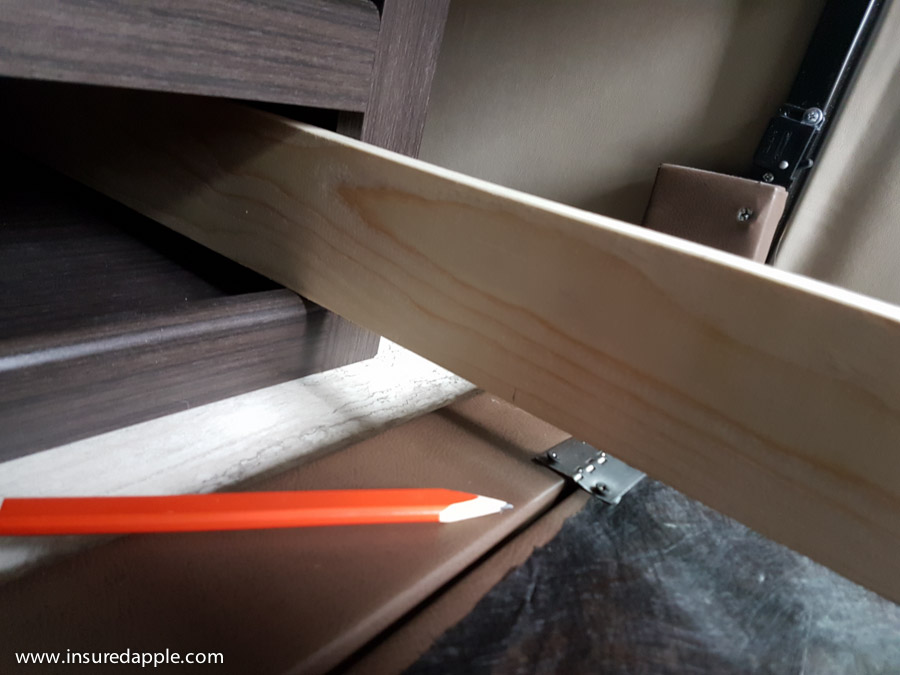
There is a shelf under the sofa bed in the living area. It is incredibly difficult to get to things stored down there, especially once it gets dark outside; the lights don’t light up the inside. I could only think of one solution – a big drawer. As with all modifications, I wanted to ensure it’s not a permanent modification to our Thor Gemini 23. This is also the very first time I’ve used my Rockler box joint jig to create some box joints.
Getting Started (on the base)
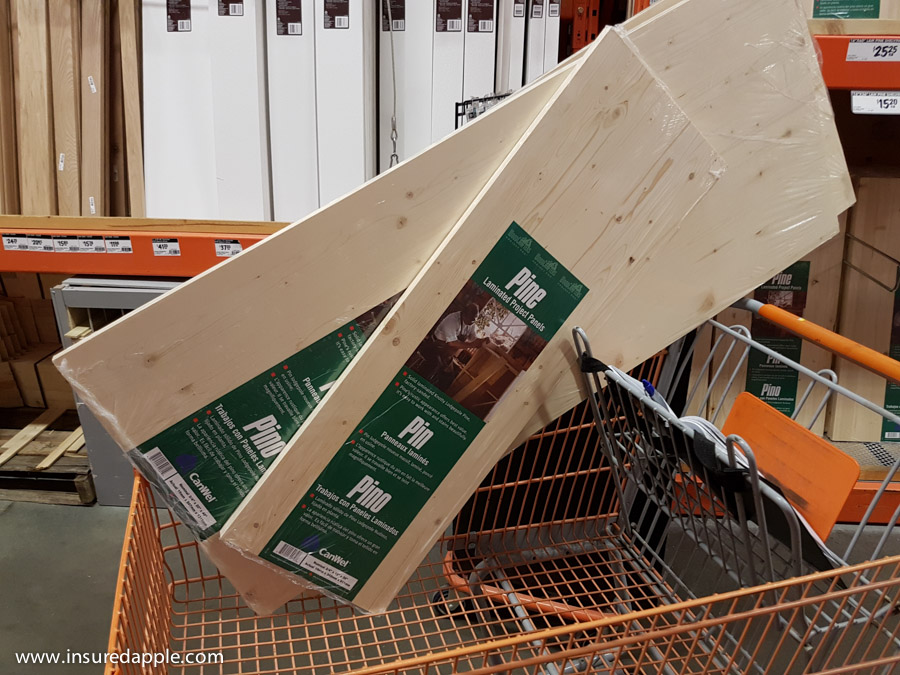
I usually go to Lowes, but The Home Depot is closer to my house and I was on a timeline to get this done. Picked up some laminated project boards and screws.
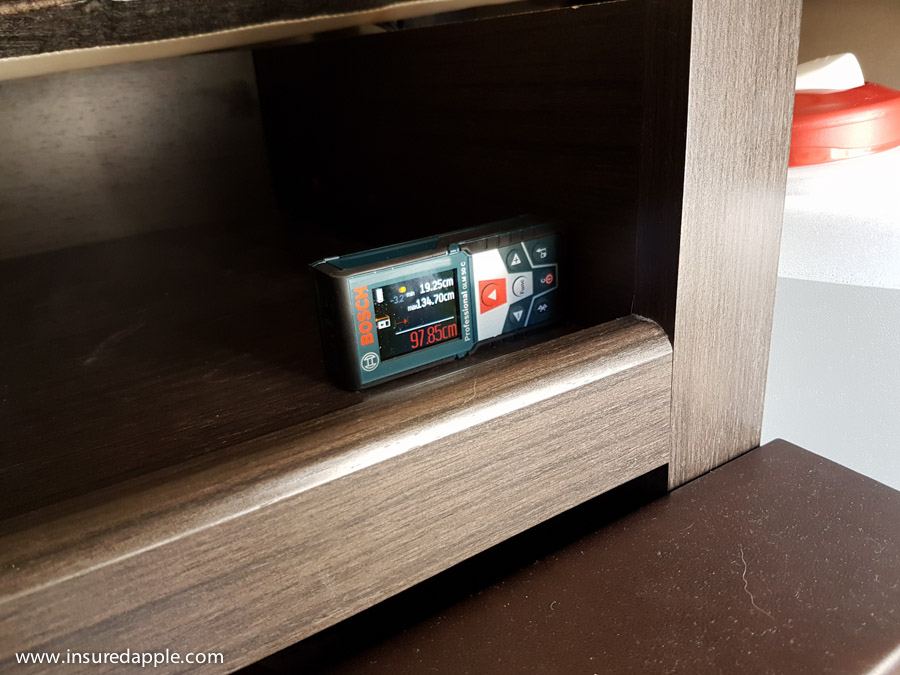
Measuring anything is so much easier with my handy Bosch laser measuring tool. So awesome. Measured the width of the shelf.
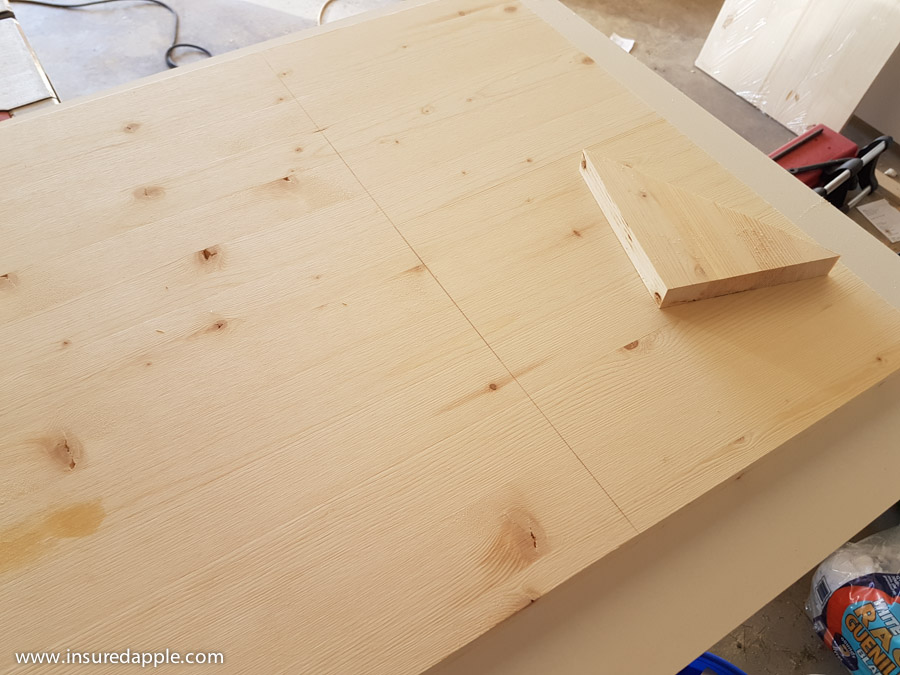
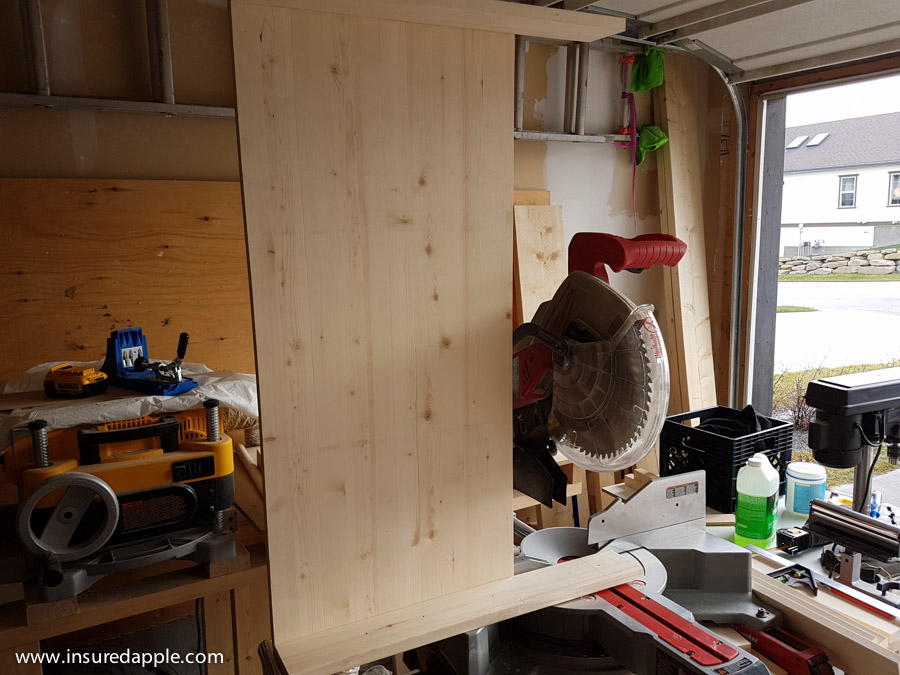
Straight line using my square and a bit of alluminum and two clamps s a guide. Ready to cut!
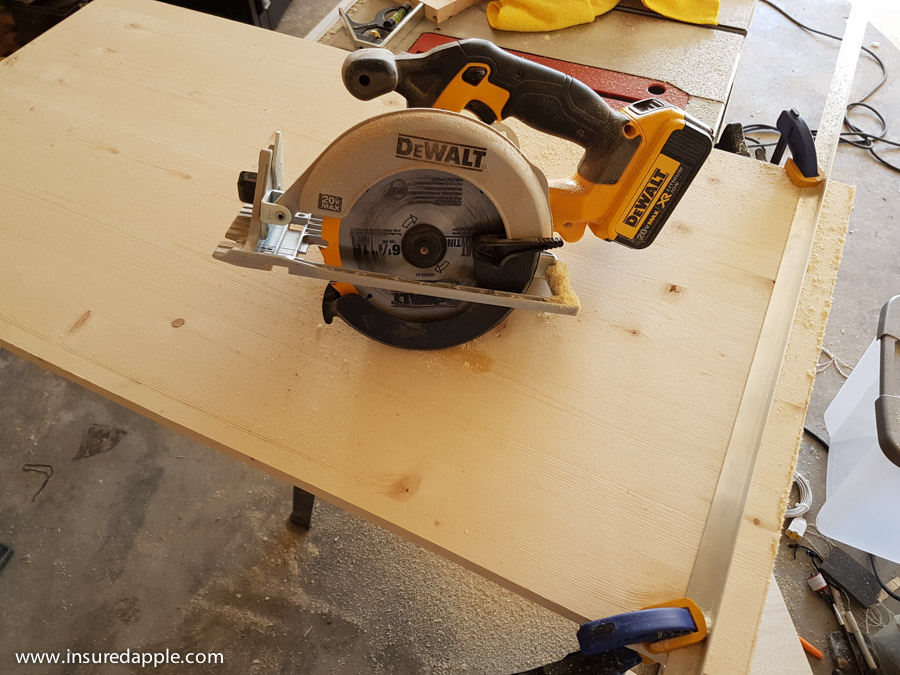
I do try to avoid the table saw when possible, so I used my trusty DeWalt circular saw.
Checking Fit & Starting Sides

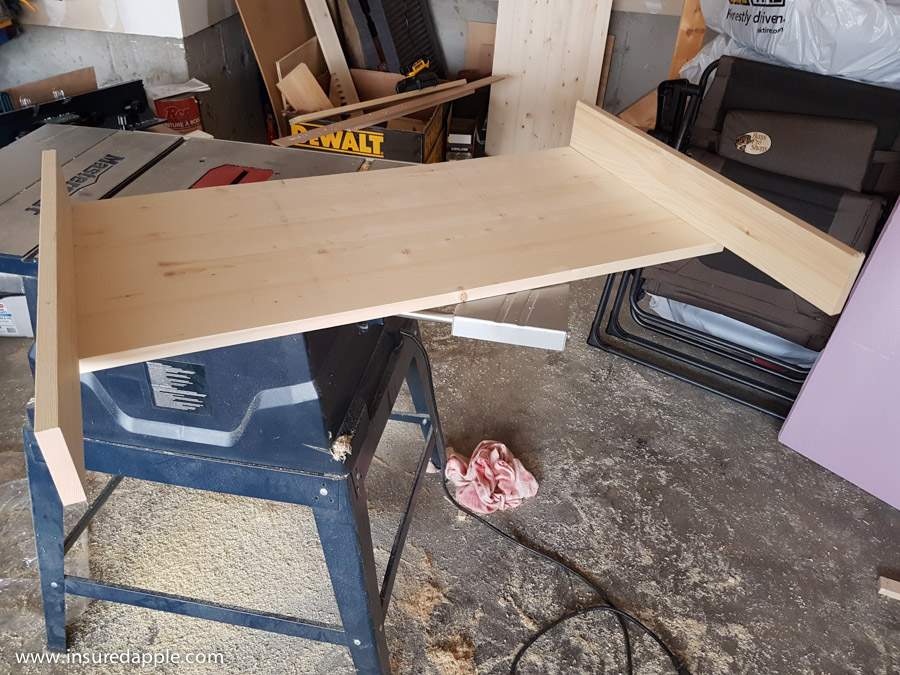
Making sure the base is a tight fit. I don’t want to screw the base into the shelf – got to keep it a non-permanent modification.
I used a 4 inch high (or wide) piece for the sides. The drawer rails will be attached to these. I avoid measuring where possible, much rather reference other things.
Attaching Sides to Base Plate
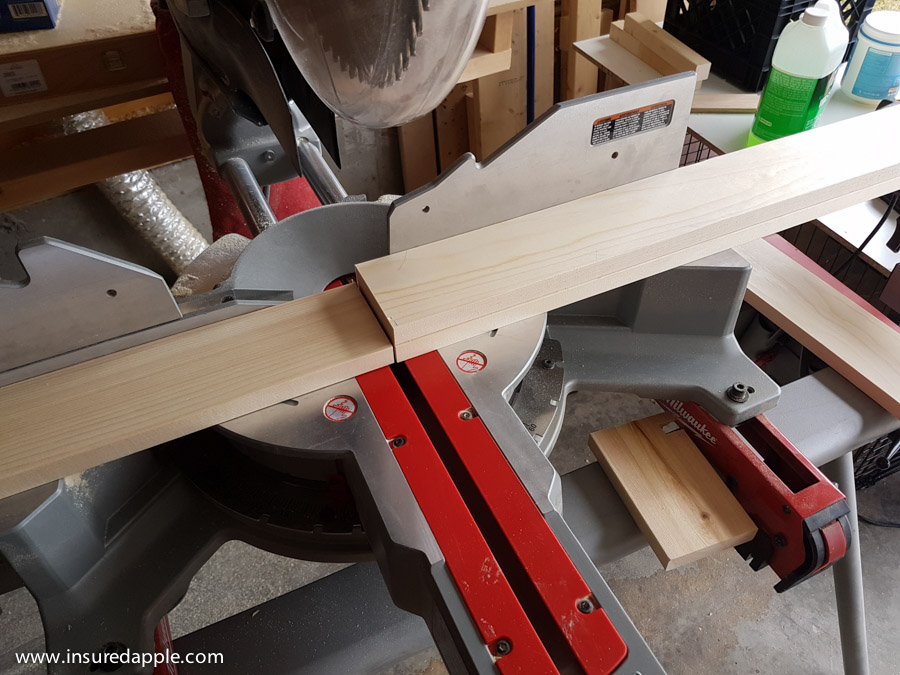
My Milwaukee mitre saw is probably one of my favorite tools in my garage. Cutting the sides to length.
After cutting them to the length I think will work (hint on what’s to come). My plan was to cut box joints in the base and bottom of the sides.
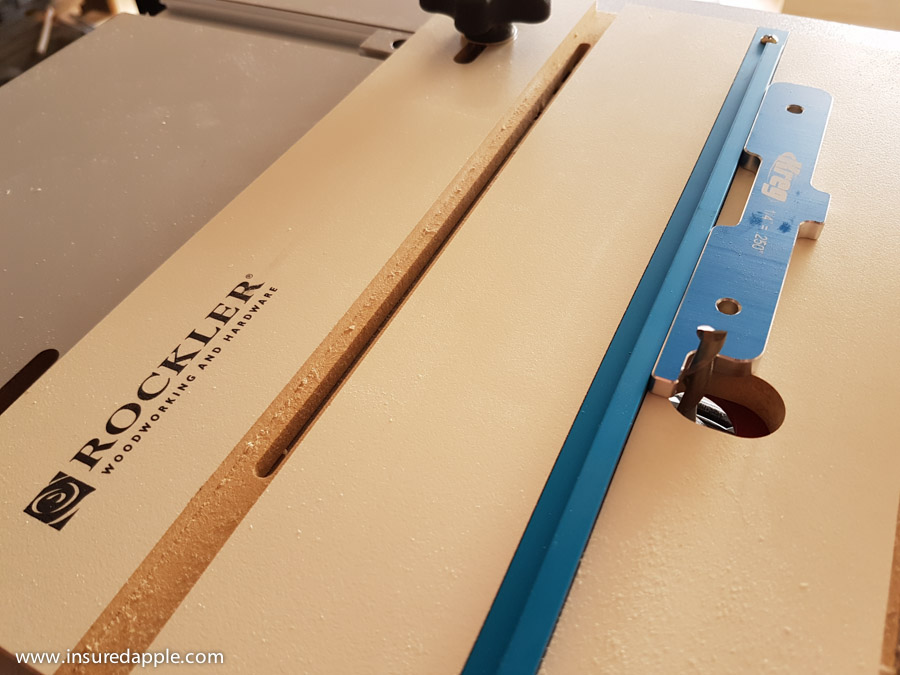
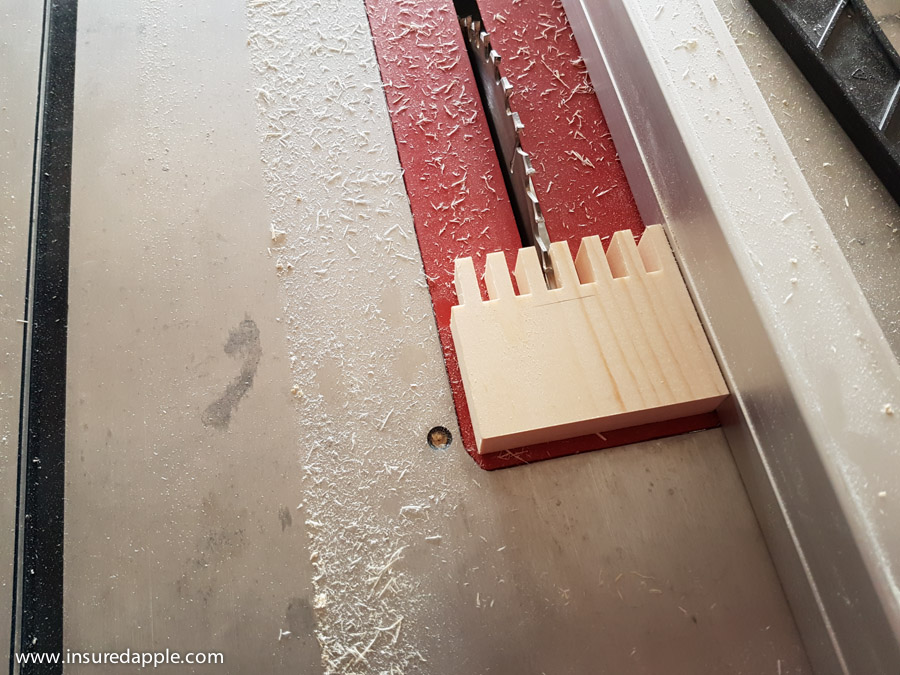
Setting up the new Bosch upcut 1/4 router bit on the Rockler box joint jig using my new Kreg setup bars (they are awesome!)

I think it may be impossible to get clean cuts with the router against the grain of the wood. Change of plan for the sides and base.
Glue
Mark, clamp, and drill
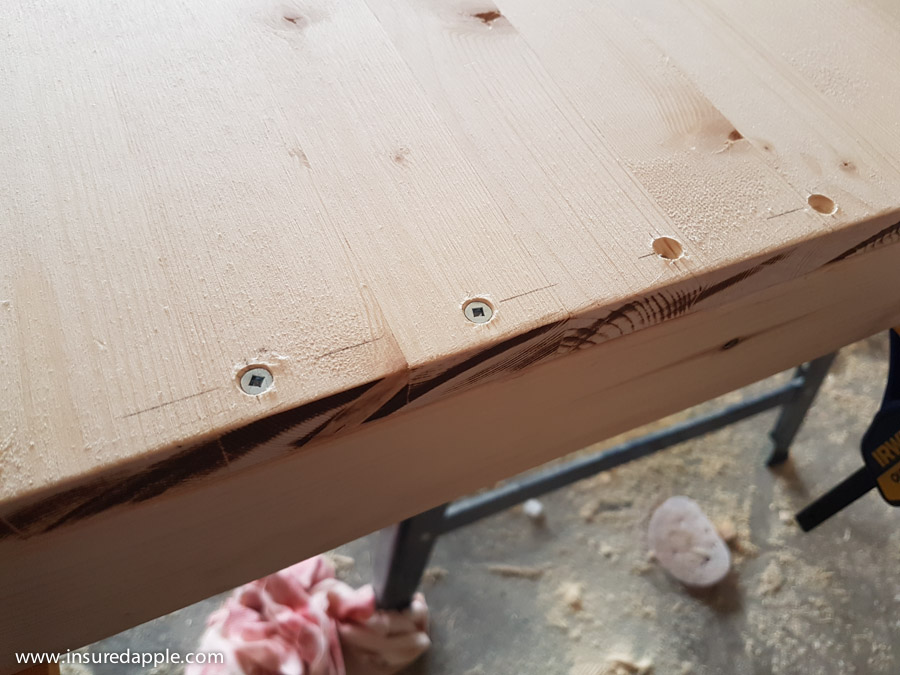
Screw
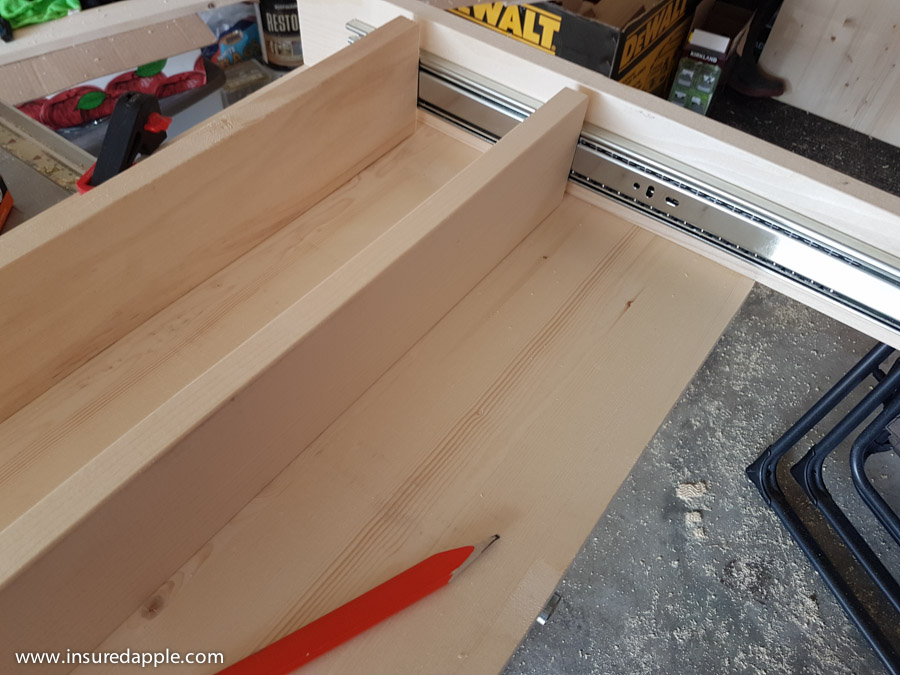
Drawer Rails
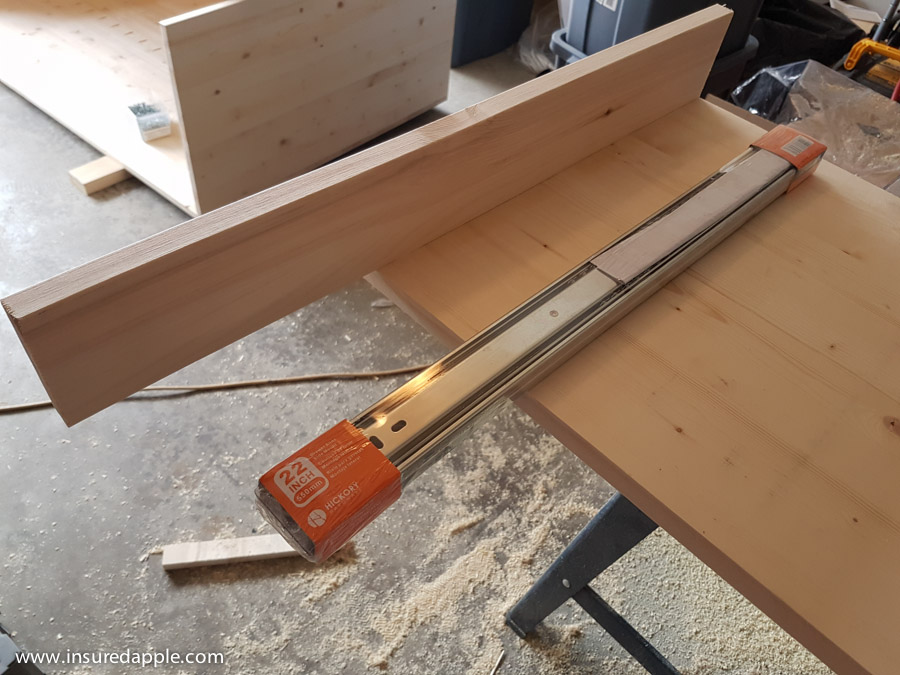
It’s time to install the drawer rails. I looked around for the longest rails I could find, these are it.
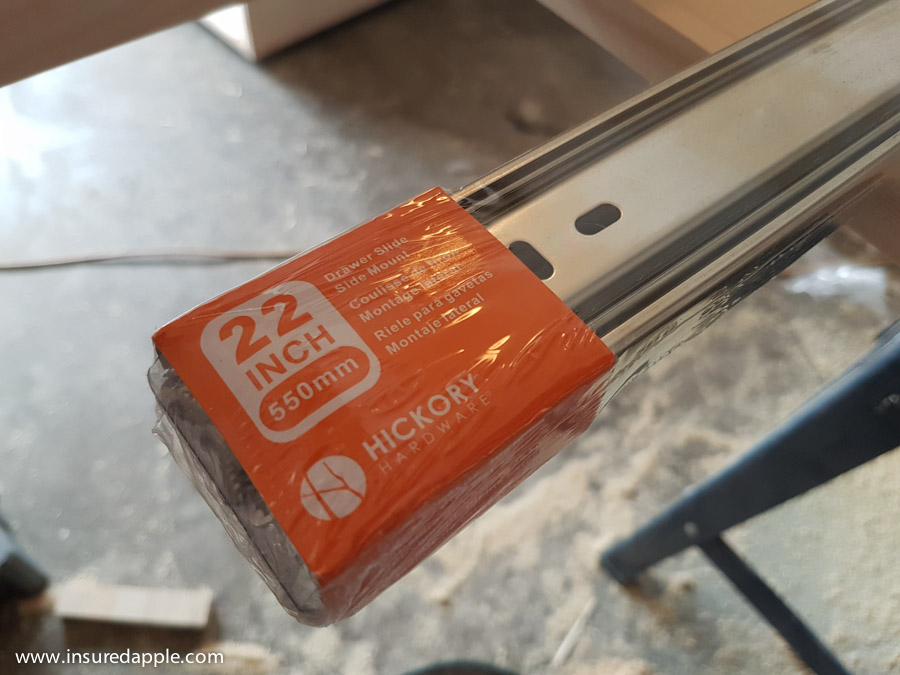
There was quite a selection of different rail types. These 22 inch Hickory slide rails felt the best and lock in when closed.
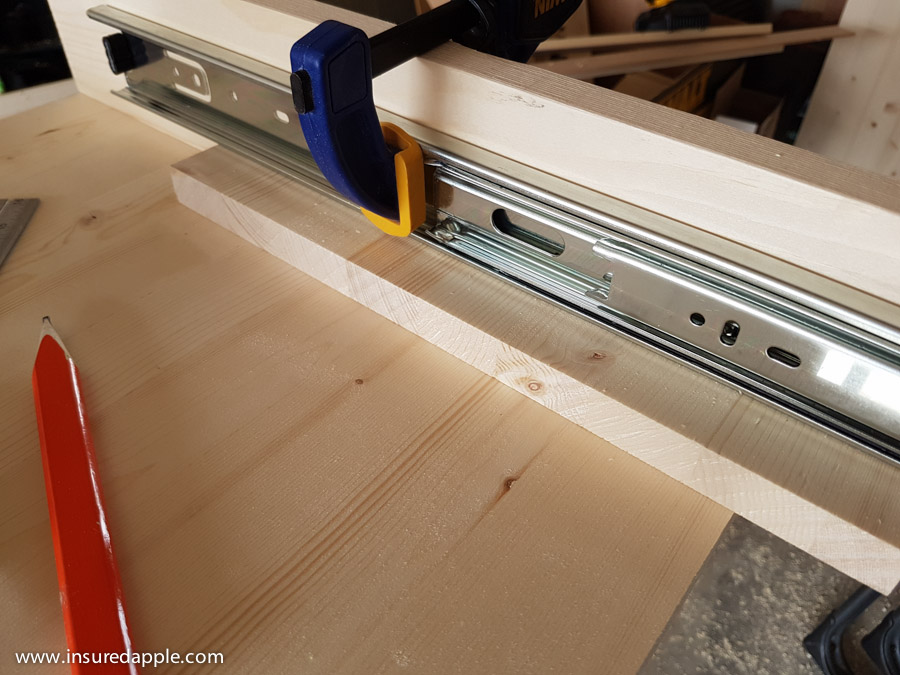
I placed a 3/4 piece of scrap under the rail, clamped the rail to the side, drilled pilot holes, and used the screws that came with the rails to attach them.
Measure Twice??

Clearly, I ignored the old saying “measure twice, cut once” because when I slid the base into the shelf, the sides were too long.
Thankfully I was able to fix the problem easily by cutting down the length of the sides on my mighty Milwaukee miter saw.
Building the Drawer Frame
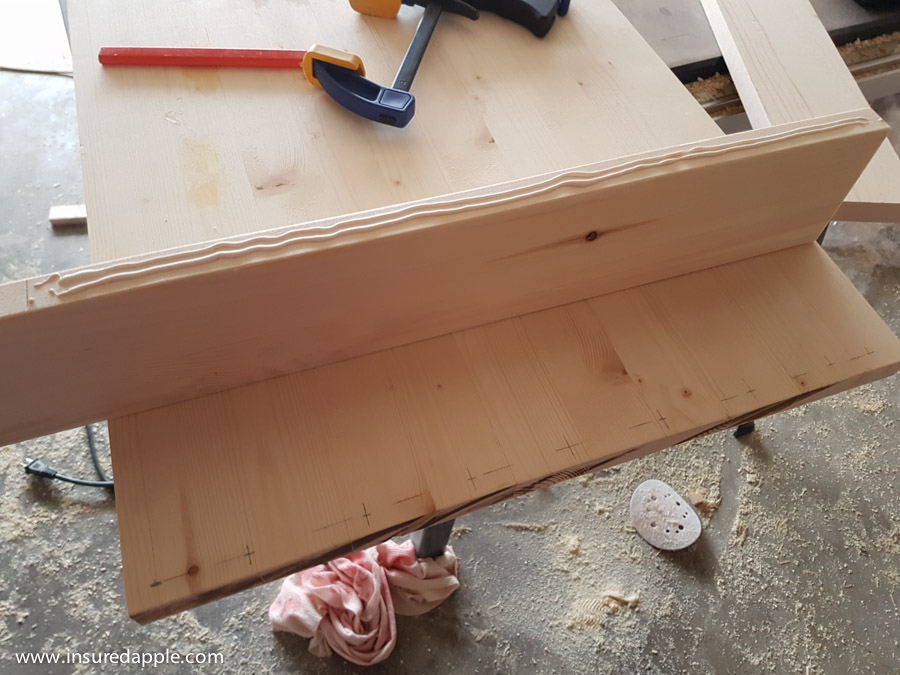
Time to build the drawer. I measured the distance between the rails and cut front and back. I should have added a bit more, to take the box joints into consideration; maybe 1/8 of an inch.
I did some test cuts to make sure the joints would work; using my Rockler Box Joint Jig.
I used one of the test pieces as a guide to setup my table saw, making sure that the sides are the right height, to match the box joints.
After ripping the sides to the right size, it I did but together the sides to ensure fit. It was one of those really exciting moments, seeing it all come together.
Building the Drawer Floor

I had much grander plans for the floor of the drawer, but I was running out of time and didn’t have any thinner material. The Kreg pocket hole jig came to the rescue.
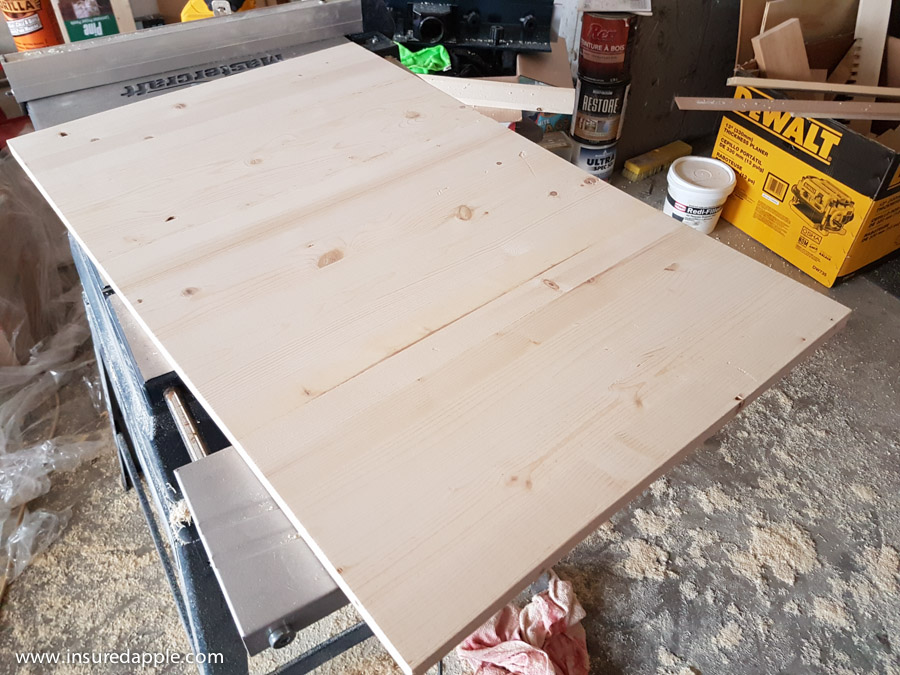
After cutting two laminated project boards to size, gluing and joining them, I sanded the drawer bottom. It’s nice and smooth!
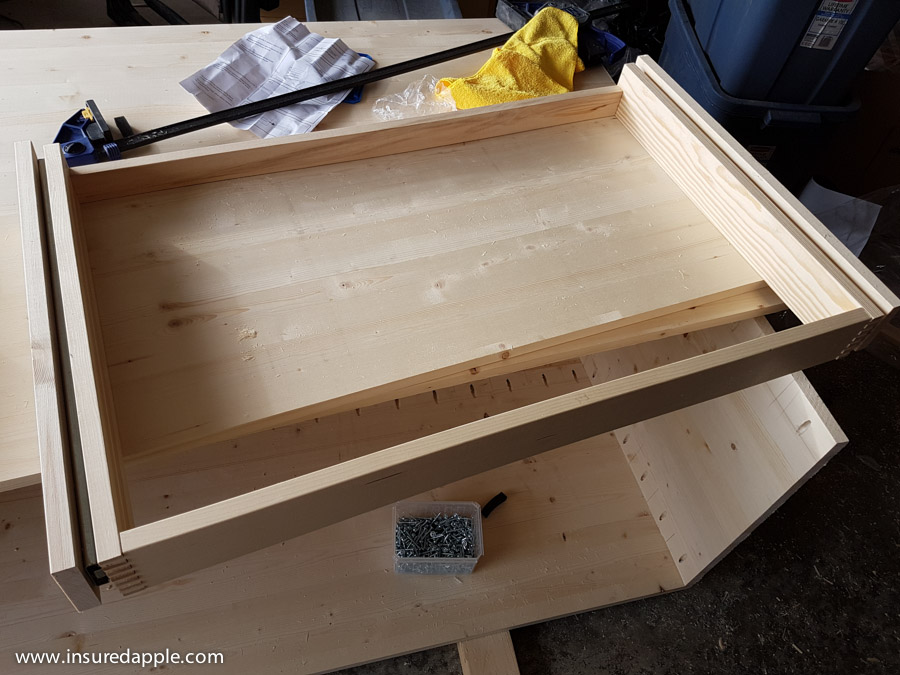
Assembly of the Drawer
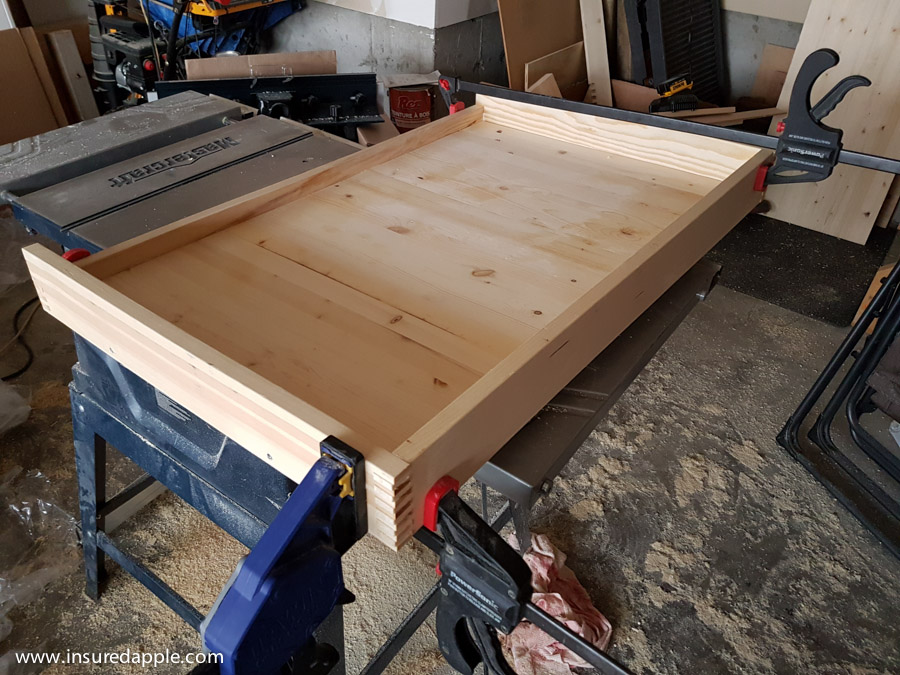
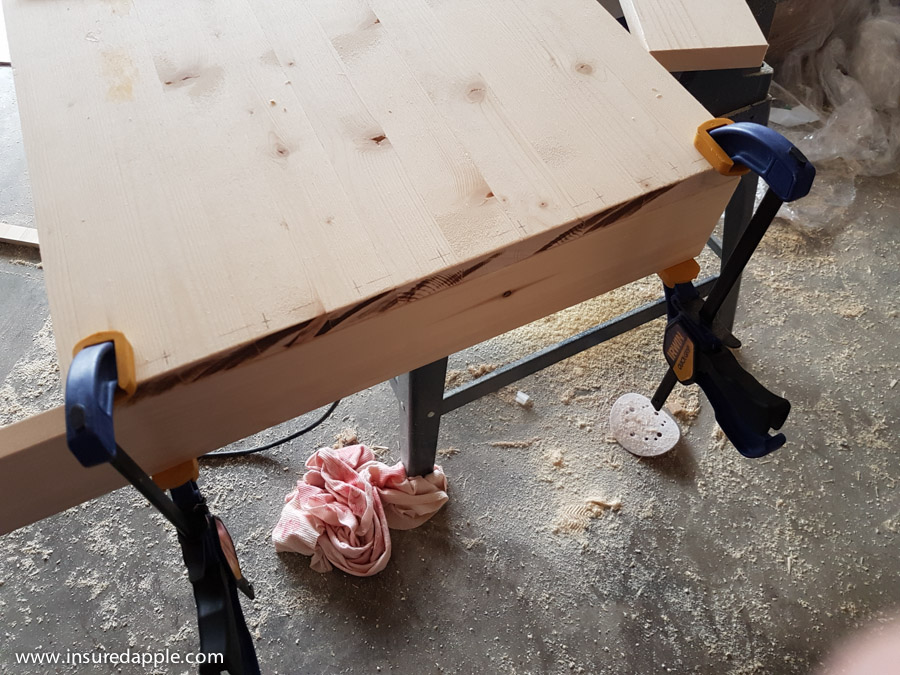
It’s time to glue all the drawer pieces together. Thankfully I had enough clamps, but next time I will probably use some corner clamps.
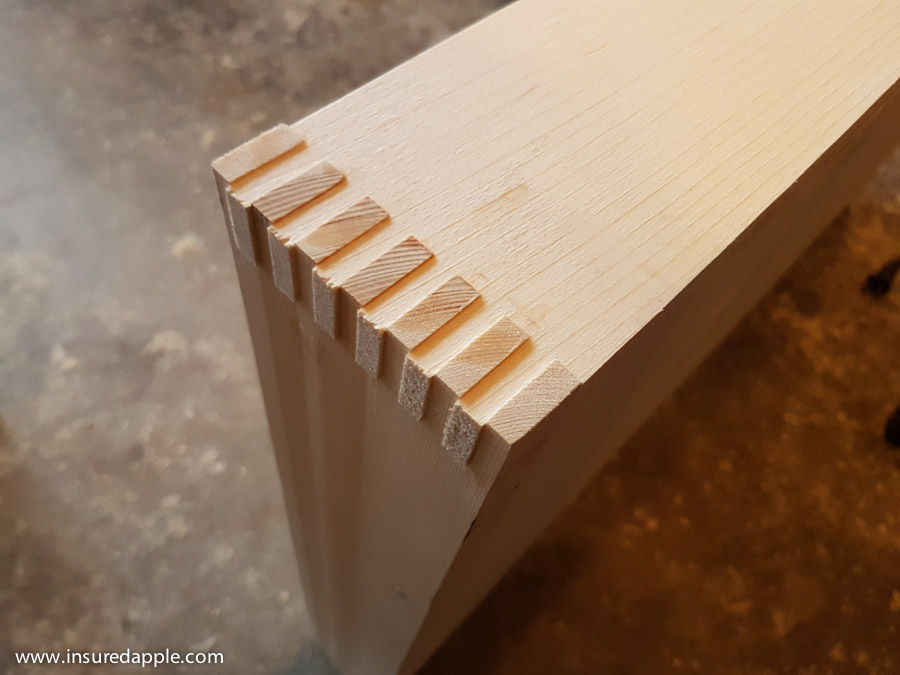
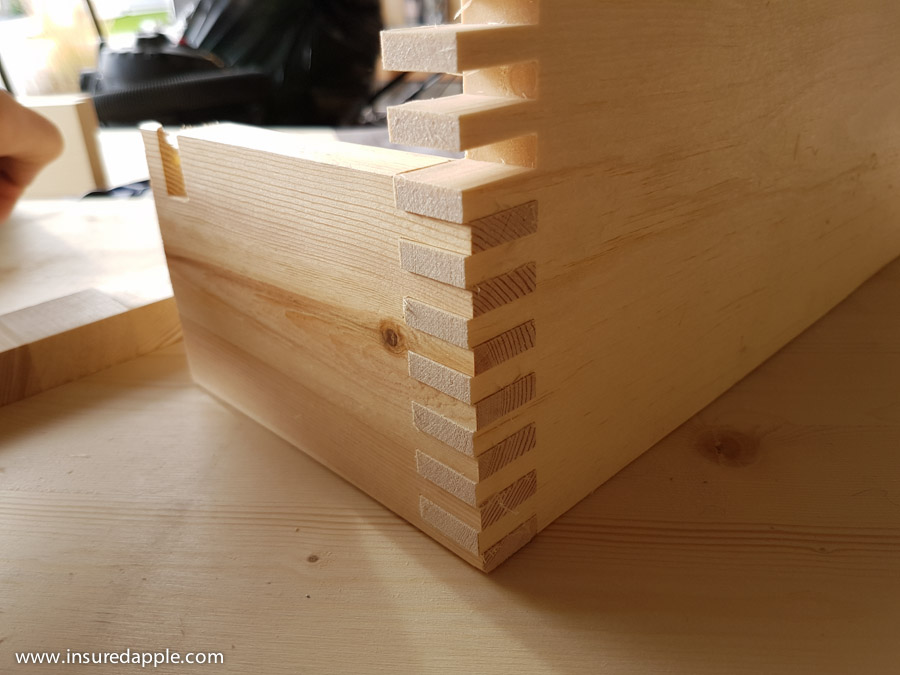
This is a picture of the box joints before I sanded them down. I should have taken this into consideration when cutting the sides to length.
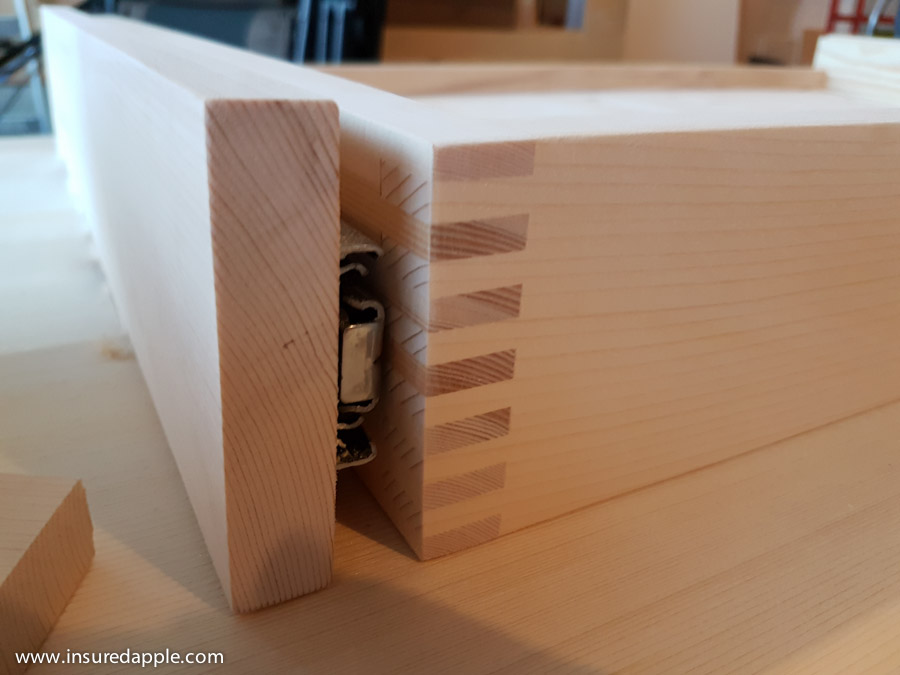
I sanded down the joints and they turned out really nice. I am genuinely enjoy working with the box joint jig from Rockler.
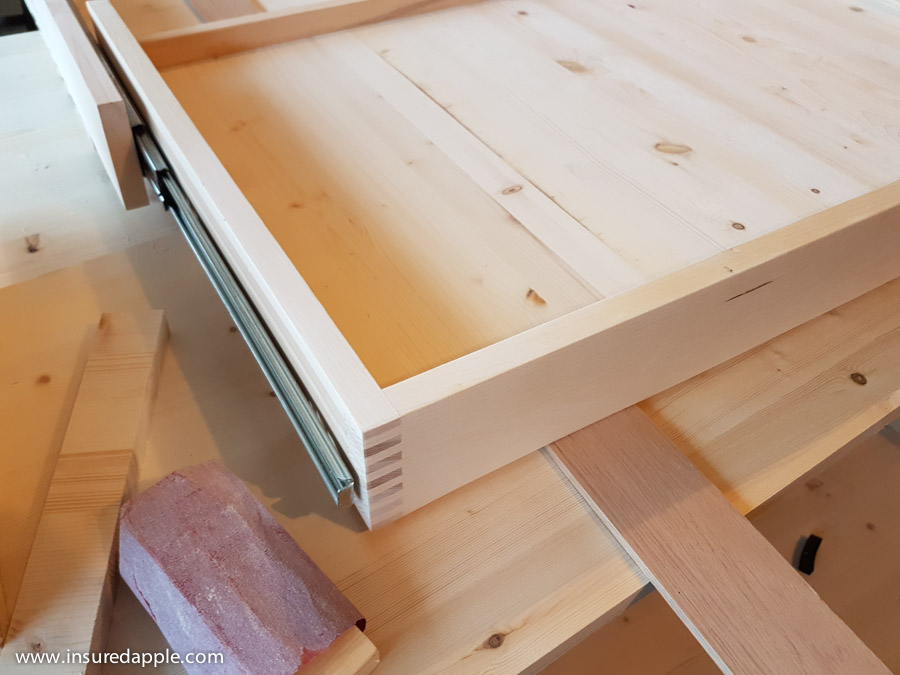
I used some scrap 1/8 pieces as a spacer, putting them under the drawer before screwing the extended rails to the drawer.
The End
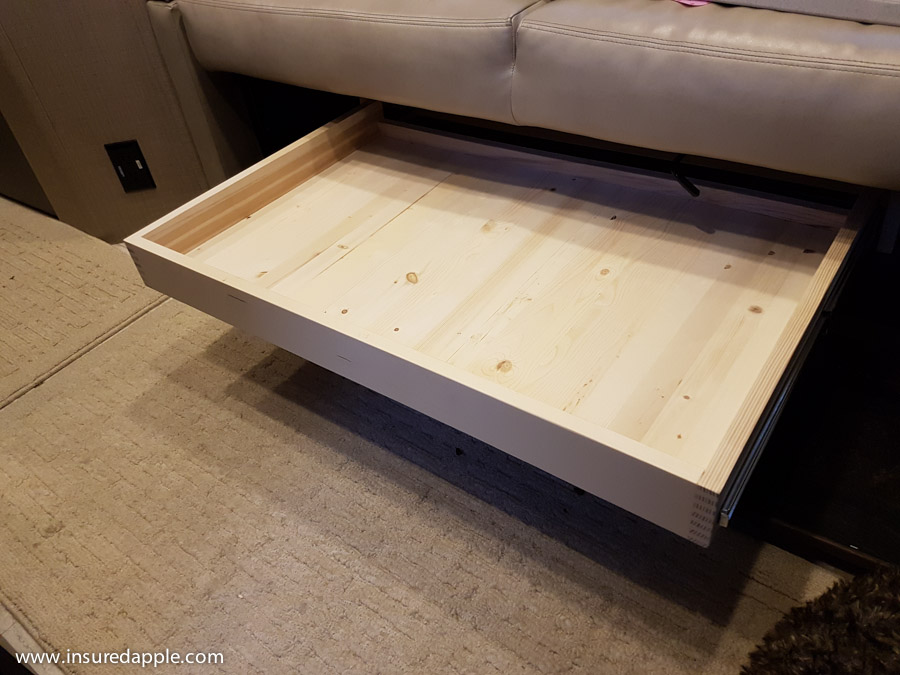
The moment of truth, and I was relieved that it worked. I finished about 20 minutes before I had to finish.
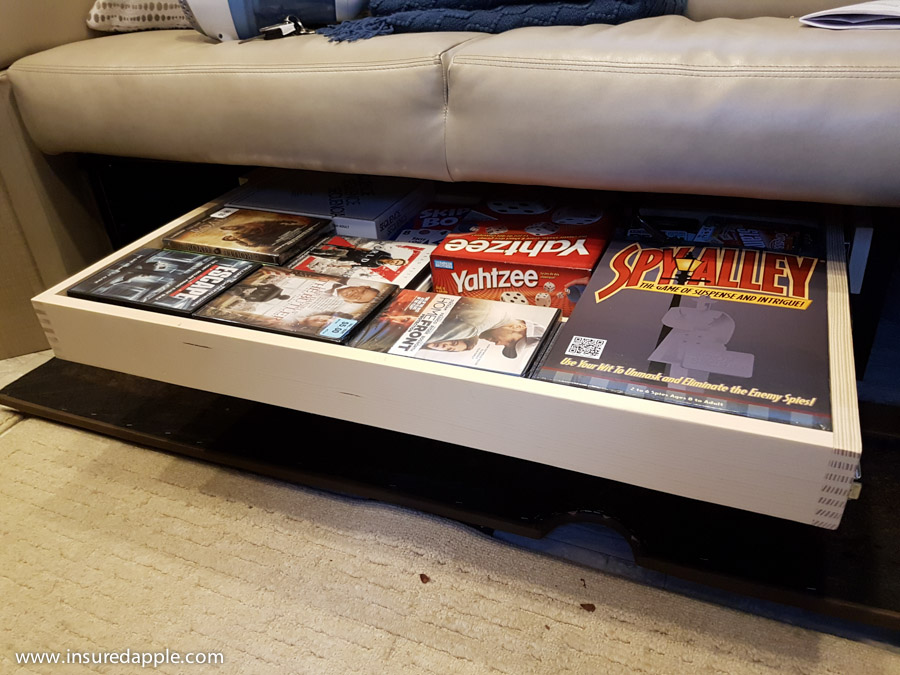
We had so much stuff down there, it was like playing Tetris to get all of our games and DVDs in there.

Everything is tight enough that the base doesn’t tip up when extending the drawer all the way out. But I will add a clamp to the back to ensure no tipping occurs.


Leave A Comment